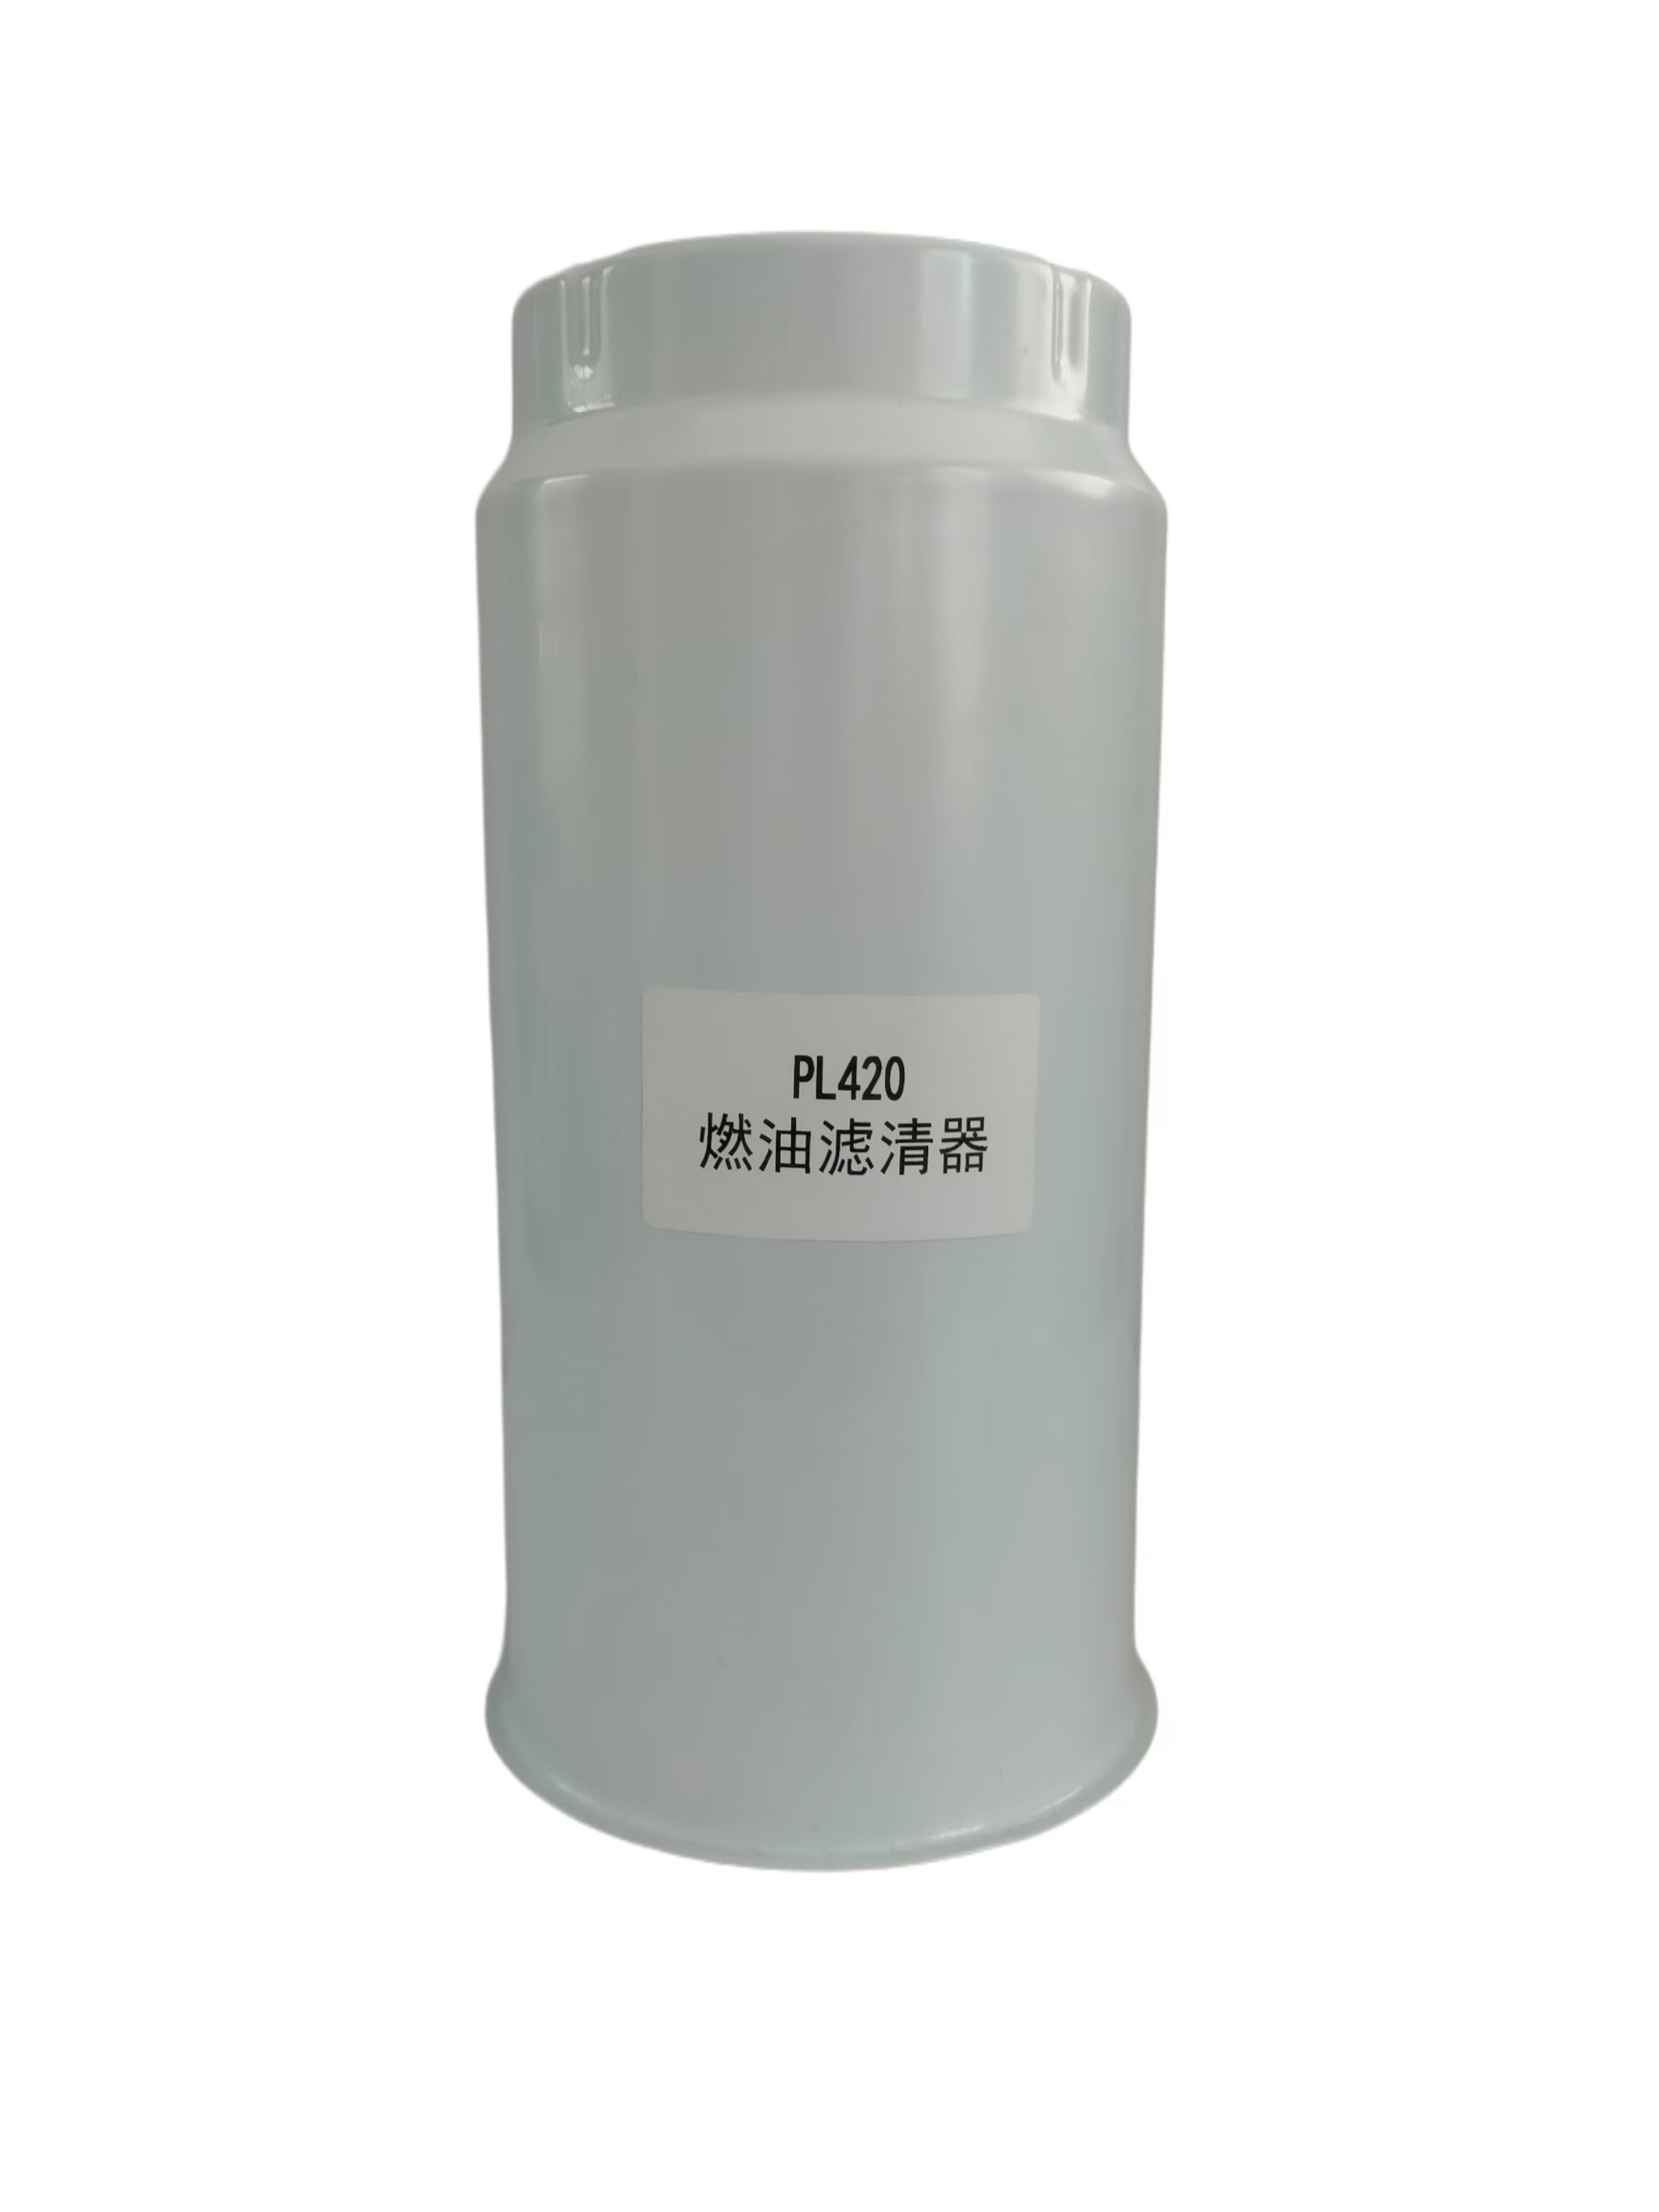
Precautions for installing an engineering vehicle oil filter
2025-07-24
Changing the oil filter (i.e., the engine oil filter) is a crucial part of the daily maintenance of engineering vehicles. It not only affects the normal operation of the engine but also directly impacts the vehicle's performance and service life. Correct oil filter installation effectively filters impurities from the engine oil, preventing engine wear, and improving fuel economy and overall operating efficiency. The following are detailed precautions regarding the installation of engineering vehicle oil filters, aimed at helping technicians and vehicle owners better perform this maintenance work.
I. Choosing the Right Oil Filter
First, ensure that the selected oil filter model matches the vehicle manual or manufacturer's recommendation. Different brands and models of engineering vehicles may require specifically designed filters; an incorrect oil filter may lead to poor sealing, insufficient flow, and other problems. Prioritize original equipment or certified alternative brands to ensure quality and compatibility. Also, check the oil filter's production date to avoid using expired products, as the filter material may age over time, affecting its filtration performance.
II. Preparation
Adequate preparation before installing a new oil filter is crucial. First, ensure the engine has cooled completely to avoid burns. Second, prepare the necessary tools, such as a filter wrench, drain plug wrench, oil collection container, new engine oil, and clean rags. Wear protective gear, such as gloves and safety glasses, to protect yourself. Finally, check for leaks around the old oil filter to help identify potential problems early.
III. Draining Old Oil and Removing the Old Oil Filter
Before removing the old oil filter, locate and loosen the oil drain plug, allowing the old oil to flow into the prepared container. Note that the oil temperature may be high; exercise caution during operation. Once the oil has mostly drained, begin removing the oil filter. Use a filter wrench to rotate the oil filter counterclockwise; avoid using excessive force to prevent damage to the mounting bracket or threads. During removal, be careful not to spill oil from the old oil filter.
IV. Cleaning the Mounting Bracket
After removing the old oil filter, carefully inspect the oil filter mounting bracket and remove any remaining oil, dirt, and old sealing gaskets. Thoroughly clean using a clean rag or special cleaning agent to ensure the mounting surface is clean and free of debris. This step is crucial for ensuring the new oil filter's seal and effectively prevents oil leaks.
V. Installing the New Oil Filter
Before installing the new oil filter, check that the new filter's O-ring or sealing gasket is undamaged. If necessary, apply a thin layer of oil to the O-ring to aid sealing, but do not use excessive amounts, as this may affect the filter's proper installation or damage the oil seal. Then, gently hand-tighten the new oil filter into the mounting bracket until the sealing ring contacts the seating surface, then use the filter wrench to tighten appropriately, following the manufacturer's recommended torque value, avoiding over-tightening, which could cause damage.
In short, the correct installation of the engineering vehicle oil filter is an indispensable part of ensuring the healthy operation of the vehicle. By following the above precautions, technicians and vehicle owners can ensure that the oil filter replacement process is safe and efficient, laying a solid foundation for the long-term stable operation of the engineering vehicle.
RELATED INFORMATION
How to maintain the oil filter
2025-08-07
How to maintain a small car's oil filter
2025-08-01
Precautions for installing an engineering vehicle oil filter
2025-07-24


